The Growth of Live Video Distribution
Live streaming has evolved from a niche gaming hobby into a powerful communication channel for creators, educators, and brands. Broadcasters use live video to build communities, host real-time workshops, and market products directly to consumers.
Twitch remains a dominant platform for this interactive engagement, drawing millions of active daily users. Navigating the technical configuration required to broadcast live can challenge beginners, but all-in-one broadcasting applications simplify the workflow.
Streamlabs Desktop provides a user-friendly solution by combining production tools, visual overlays, and audio management into a single interface. This software streamlines the configuration process, allowing creators to transition from setup to broadcast efficiently. By following a structured approach, organizations and independent producers can establish a stable, professional presence on Twitch.
The image displays the primary configuration dashboard of the broadcasting application, featuring the visual scene editor and audio levels necessary for a live broadcast.
1. Download and Install the Software
The initial phase requires acquiring the appropriate software client for the production computer. Navigate to the official Streamlabs website to download the latest installer compatible with the operating system.
Run the installation package and follow the standard promotional prompts to complete the deployment on the local drive. Launch the software once the installation concludes to begin the onboarding sequence.
2. Authenticate the Twitch Account
Upon the first launch, the software initiates an onboarding wizard designed to link distribution channels. Select Twitch from the list of available streaming platforms to trigger the secure login portal. Enter the corresponding channel credentials and complete any mandatory two-factor authentication prompts required by Twitch.
Linking the account directly through this integration removes the need to manually locate and copy long stream keys from the Twitch creator dashboard.
3. Run the Auto-Optimization Wizard
The broadcasting client includes an automated diagnostic tool that evaluates system hardware and network performance. Allow the software to run this auto-optimization scanner immediately after account authentication.
The tool analyzes the upload speed of the internet connection alongside the processing capabilities of the computer graphics hardware. It then automatically configures ideal baseline parameters for video resolution, frame rate, and bitrate to minimize dropped frames during playback.
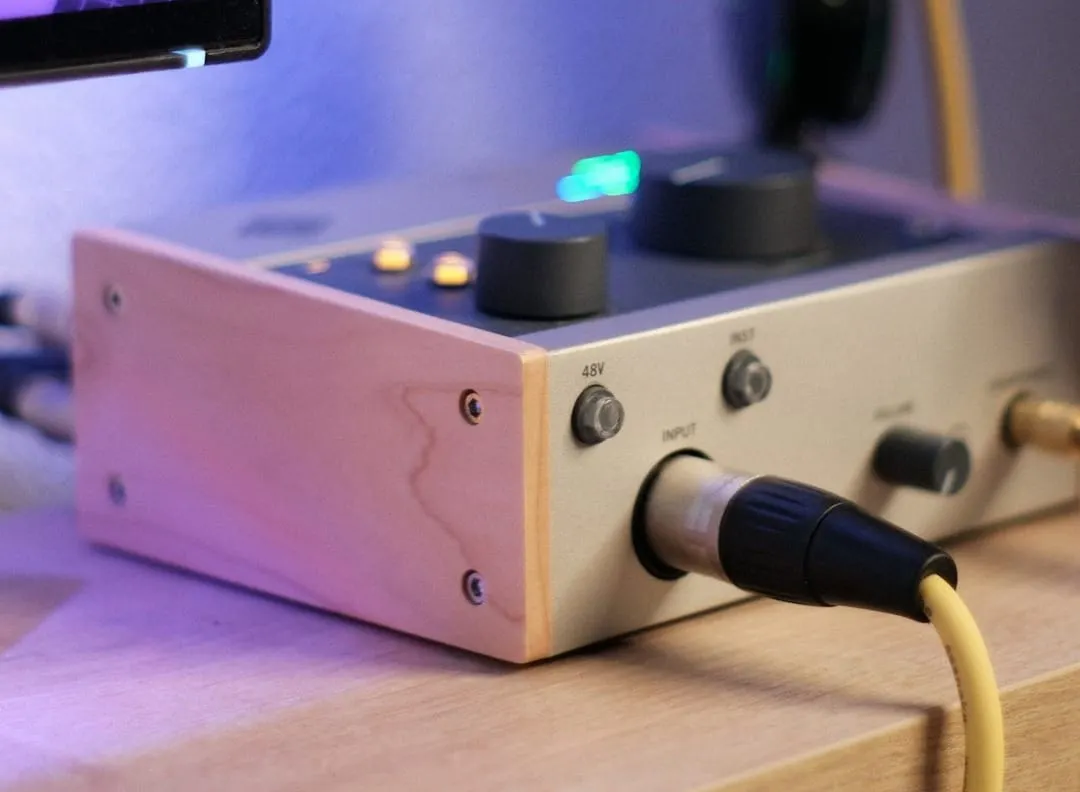
4. Configure Audio Devices
Clear audio quality remains a critical factor for viewer retention in live media production. Navigate to the settings menu by clicking the gear icon in the lower-left corner of the interface and open the audio tab.
Manually designate the primary microphone under the mic/auxiliary device dropdown menu rather than relying on default system selections. Next, confirm that the desktop audio device mirrors the physical headphones or speakers used to monitor system sounds during the broadcast.
5. Create Scenes and Sources
The visual composition of a broadcast relies on a hierarchical structure of scenes and sources located in the lower panels of the dashboard. Create a new scene to act as the primary visual layout, naming it according to its function, such as live view or intermission.
Move to the sources panel, click the plus icon, and add a video capture device to pull the video feed from an attached webcam or mirrorless camera. Add a screen capture or game capture source within the same scene to display presentations, applications, or software demonstrations to the audience.
6. Implement Interactive Alerts
Audience engagement increases significantly when broadcasters acknowledge viewer milestones in real time. Use the sources menu to add an alert box widget to the active scene, positioning the bounding box over an area of the video layout that does not obscure primary visual content.
This widget communicates directly with Twitch API servers to display on-screen animations and trigger sound effects whenever a viewer follows the channel, subscribes, or sends a donation.
7. Test and Launch the Live Stream
Before initiating a public broadcast, performing a technical rehearsal ensures all software components function correctly. Utilize the built-in recording feature to capture a short sample of video and audio locally, reviewing the file to verify that microphone levels balance correctly with desktop audio.
Once performance is verified, update the stream title and category via the stream info panel within the application interface. Click the prominent go live button in the lower-right section of the dashboard to begin transmitting data directly to Twitch.