Color grading is one of the most powerful ways to elevate your video projects — whether you’re editing interviews, narrative films, or social content. It not only enhances visual appeal but also helps shape mood, tone, and emotional impact. Adobe Premiere Pro and DaVinci Resolve are two of the most popular tools for grading, each with distinct strengths suited to different workflows. Here’s a practical look at how color grading works in both applications, from basic correction to advanced stylization.
Why Color Grading Matters
Before diving into tools, it helps to understand the two main stages of working with color:
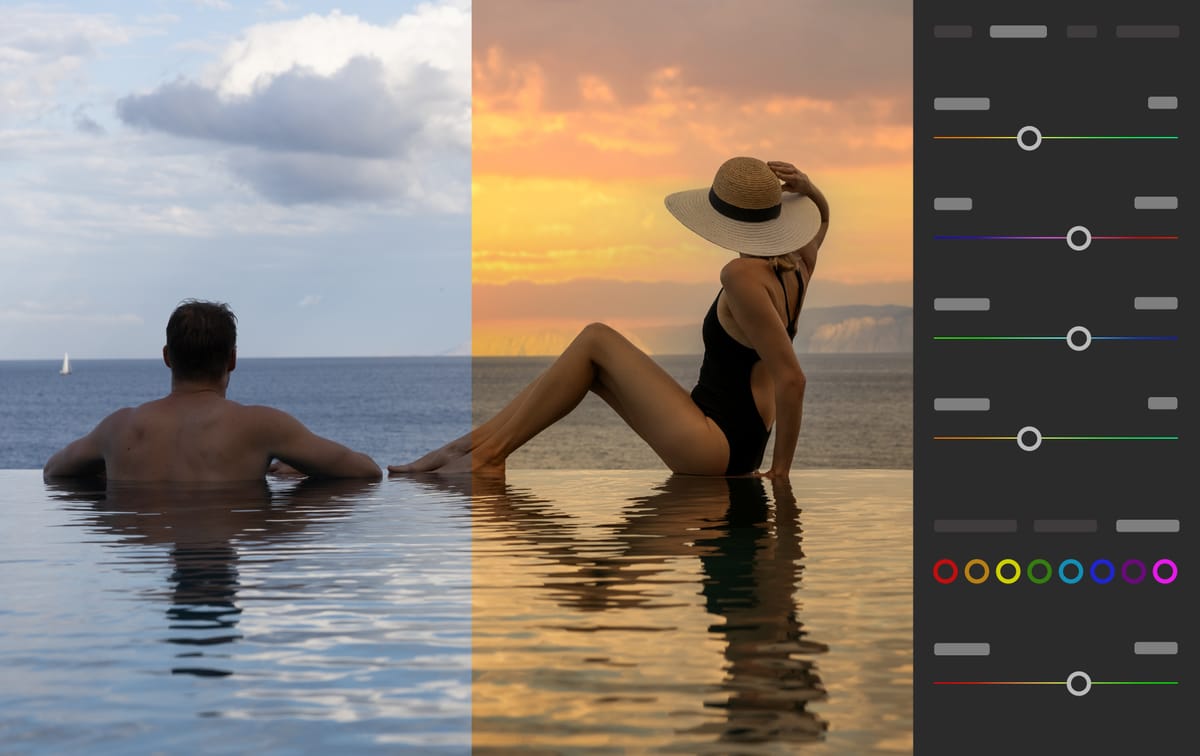
- Color Correction: Technical adjustments to correct exposure, white balance, and contrast so footage looks natural and consistent.
- Color Grading: Artistic adjustments that give your footage a specific look or emotional style — for example, warm and cinematic, cool and dramatic, or stylized teal‑orange palettes.
Both Premiere Pro and Resolve support these workflows, but how they approach them differs significantly.
Color Grading in Adobe Premiere Pro
Premiere Pro’s Lumetri Color panel is designed for editors who want robust color tools woven directly into a broader editing workflow.
How Premiere Pro Handles Color
- Integrated Workflow: You can edit and grade within the same timeline without switching applications. This streamlines projects where editing, graphics, audio, and color adjustments are all managed together.
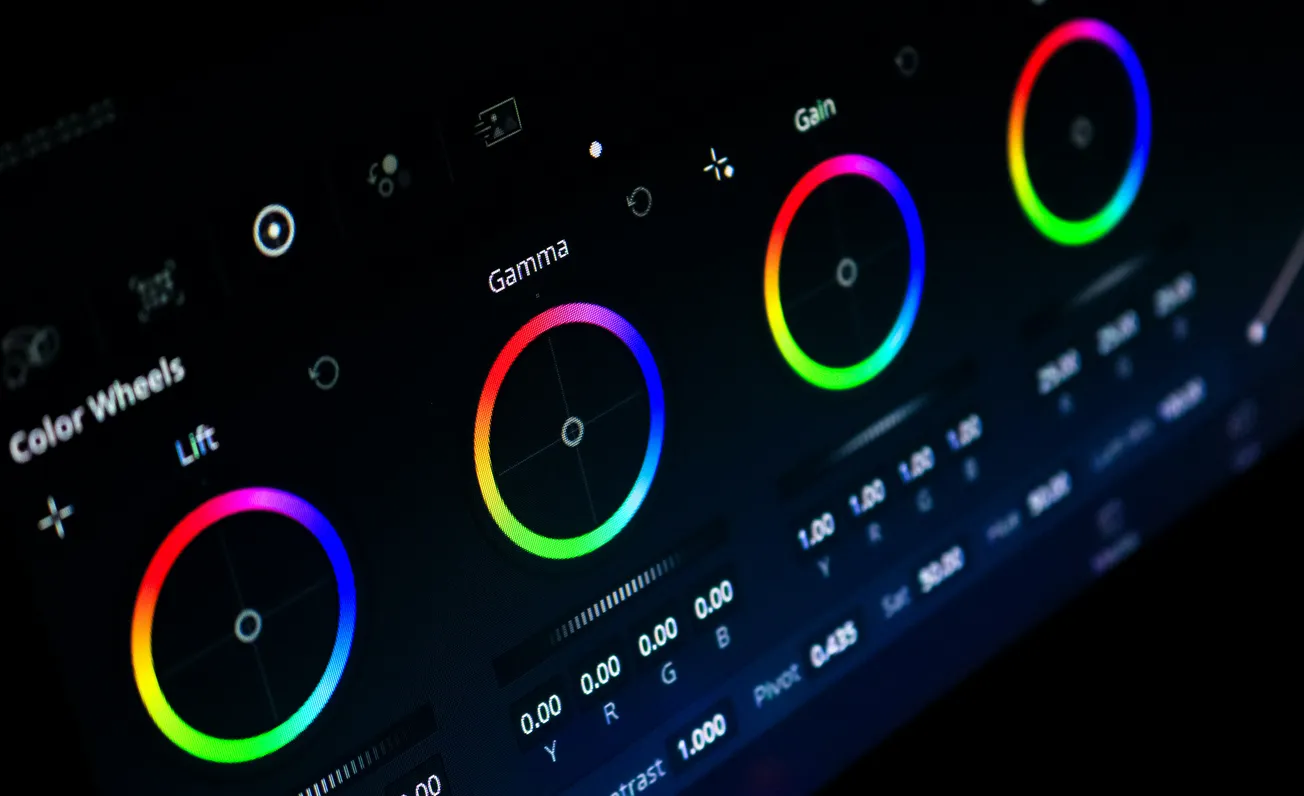
- Lumetri Color Panel: This is Premiere’s central hub for grading. It includes sections for Basic Correction (white balance, exposure, contrast), Creative Looks (LUTs and stylistic adjustments), Curves, Color Wheels & Match, and HSL Secondary for selective adjustments.
- Scopes and Adjustment Layers: Premiere supports waveform, RGB parade, and vectorscope tools for accurate monitoring, and adjustment layers let you apply grades across multiple clips non‑destructively.
- Ease of Use: The Lumetri interface feels familiar to users of Adobe photography tools like Lightroom or Camera Raw, making it a relatively gentle learning curve for beginners.
Recent Pipeline Improvements
Adobe recently rebuilt Premiere’s color processing pipeline with a Wide Gamut Color Pipeline that better preserves log and RAW footage details and provides more predictable results without relying on technical LUTs.
Best Suited For
- Projects where editing and color happen together
- Content creators and editors needing quick, high‑quality grades
- Users who benefit from Adobe ecosystem integration
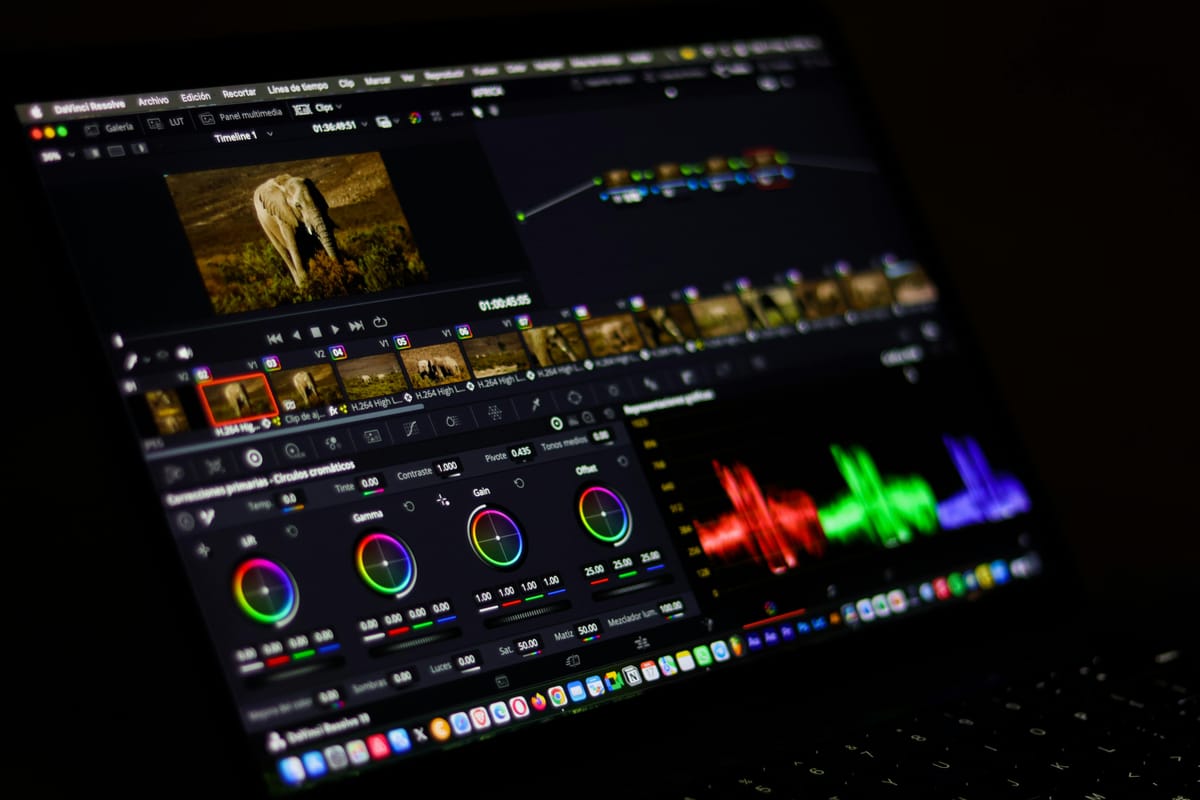
Color Grading in DaVinci Resolve
DaVinci Resolve began as a dedicated color grading platform and remains one of the most powerful tools for professional color work.
Key Features of Resolve
- Node‑Based Grading: Instead of stacking corrections like layers, Resolve uses nodes — modular blocks that represent color steps or effects. Nodes can be rearranged, combined, and isolated for very flexible grading workflows.
- Advanced Tools: Resolve excels with tools like Power Windows, qualifiers, tracking, HDR grading, and ACES color management, enabling precise control over every aspect of an image.
- Free Version: The core color tools are available in the free version of Resolve, making high‑end grading accessible without subscription costs.
- Professional Color Science: Resolve is widely used in feature films and high‑end projects for its accuracy and depth, including support for cinema RAW and complex workflows.
Best Suited For
- Projects where color depth and precision are priorities
- Editors willing to learn a more advanced, node‑based system
- Productions that involve multiple camera formats or cinematic grading
Practical Tips Across Both Tools
- Start with Correction Before Grading: Fix exposure and white balance first, then apply creative looks.
- Use LUTs as Starting Points: LUTs help establish a stylistic palette quickly, but manual adjustment is usually needed for perfection.
- Monitor with Scopes: Tools like waveform and vectorscope ensure your adjustments maintain accurate exposure and color balance.
Choosing the Right Tool for Your Workflow
If you prioritize speed, editing convenience, and integration with other Adobe apps, Premiere Pro’s color grading workflow with Lumetri offers a practical, intuitive experience. Resolve, in contrast, is ideal for creators who want deep, cinematic color control and professional‑grade features, even if it demands more time to master.
Ultimately, many professionals use both: editing in one tool and grading in another, depending on project needs. Understanding the strengths of each gives you flexibility and creative freedom in your post‑production workflows.
More about color grading: