Video podcasts with multiple camera angles keep viewers engaged, showcase authentic reactions and give episodes a professional edge. But without a solid editing process, managing multiple cameras can quickly become overwhelming.
A recent Vidpros workflow guide outlines best practices that help creators streamline production and deliver polished, repurposable content at scale.
1. Start with Organized Project Files
Before opening your editing software, create a dedicated project folder with subfolders for video, audio, graphics and exports. Use consistent file names by camera angle, date or segment. This step prevents confusion later and saves hours when producing longer episodes.
2. Import and Structure Footage
Bring all assets into your editing software – Adobe Premiere Pro, Final Cut Pro or DaVinci Resolve are recommended. Use bins or folders to keep cameras separated. If you produce a recurring show, build project templates to maintain consistency across episodes.
3. Synchronize Audio and Video
Audio syncing is where multi-camera projects often get messy. Use waveform or timecode syncing features. If auto-sync struggles, rely on a manual clap or slate to align tracks. Once in sync, nest everything into a multicam sequence so you can easily switch between angles.
4. Build a Multicam Editing Sequence
In multicam view, cut between speakers, reaction shots and wide angles. Keep pacing natural and avoid rapid cuts unless it enhances energy. Allow pauses and reactions to breathe so conversations feel authentic.
5. Mark Highlights for Repurposing
Tag emotional beats, strong soundbites or brand mentions with timeline markers. This makes it easier to create short-form clips for TikTok, Instagram Reels or YouTube Shorts, extending the life of each recording.
6. Add Branding and Graphics
Use animated intros, lower-thirds and logo callouts to reinforce brand identity. Keep visuals clean and non-intrusive. A consistent visual style helps establish authority and recognition across platforms.
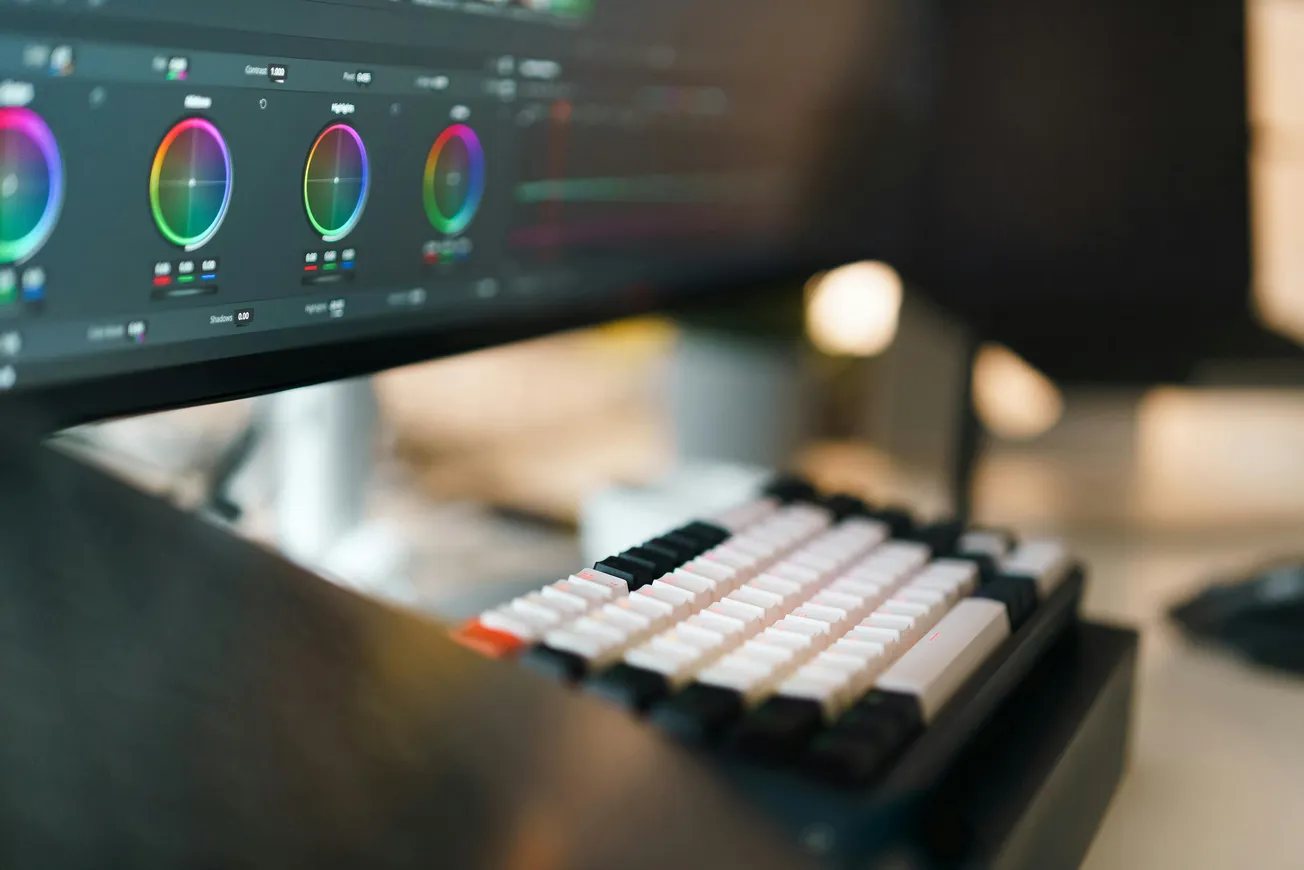
7. Apply Color and Audio Corrections
Switching between camera angles can expose lighting differences. Adjust color grading and skin tones for consistency. For audio, normalize speaker levels, reduce noise and ensure no one sounds louder than another.
8. Final Review and Quality Control
Watch through the entire edit to catch awkward transitions, dead air or missing graphics. A second editor or peer review can ensure quality before publishing.
9. Export for Multiple Platforms
Create different exports for YouTube, Spotify, TikTok and LinkedIn. Use export presets to save time and guarantee correct resolution, captions and bitrates. Repurposing one recording into multiple formats increases reach without extra production.
Why It Matters for Creators and Businesses
Multi-camera editing isn’t just for big studios anymore. With the right workflow, small businesses and independent podcasters can achieve professional, dynamic visuals that boost engagement and credibility. A streamlined process also makes it easier to scale production and consistently repurpose content.
Editing multi-camera podcasts doesn’t have to be chaotic. By organizing assets, syncing carefully and tagging highlights for repurposing, creators can turn complex recordings into engaging, polished episodes ready for every platform.
More Reading
- Podcast Editing Workflow 2025
- How to Repurpose Podcast Video Content
- Best Export Settings for Podcast Videos