
Auto-ducking is a simple but powerful feature that automatically lowers background music when someone speaks and raises it again when they stop. For podcasters, streamers, or video creators, this ensures your voice is always front and center – no manual volume adjustments needed.
What Is Auto-Ducking?
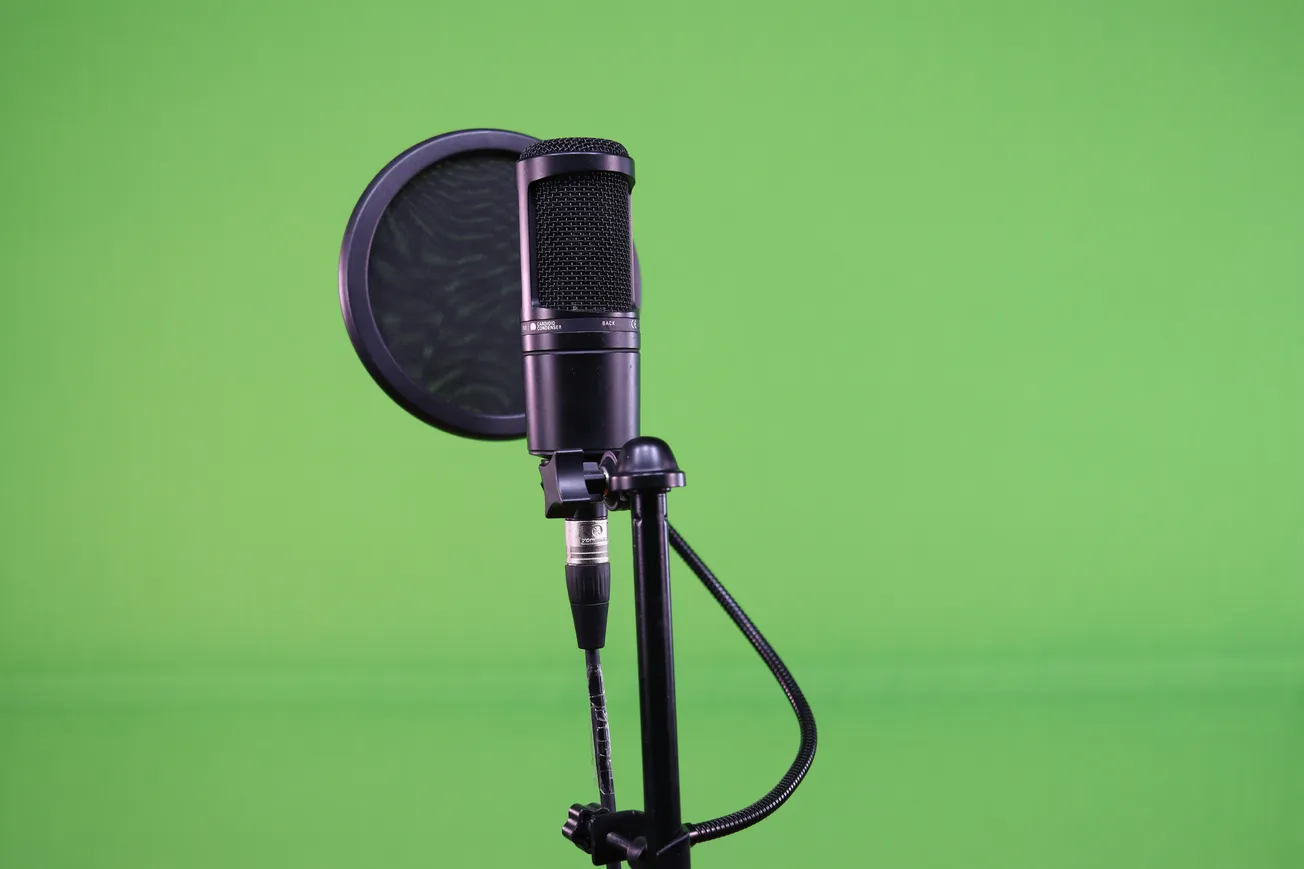
Think of auto-ducking as a smart audio assistant. When enabled, it detects when someone speaks on a designated mic channel (like channel one on the Mackie DLZ Creator) and gently fades down the background music.
Once the speaker stops, the music fades back in. It's perfect for maintaining audio clarity during intros, interviews, or live sessions.
Setting Up Ducking on the Mackie DLZ
The Mackie DLZ Creator and DLZ Creator XS make ducking easy using customizable pads.
- Step 1: Find an empty pad on your mixer.
- Step 2: Set the pad’s mode to Toggle (best for ducking).
- Step 3: Assign “Ducking” as the control function.
- Step 4: Name the pad (e.g., “Duck”) for quick access.
- Step 5: Plug your main mic into Channel 1, which triggers the ducking.
Test and Fine-Tune Your Audio
Play background music, then speak into your mic. The volume should dip automatically and return smoothly after you finish speaking. If it doesn’t, double-check that ducking is tied to channel one and that your mic is properly assigned.
Tip: Add a short pause at the end of speech to allow the music to fade back in naturally.
Why Creators Love Ducking
Auto-ducking reduces audio clutter and creates a more polished mix. It’s ideal for:
- Podcast intros and outros
- Live interviews with background tracks
- Video content with music beds
Even if you’re a solo creator, ducking can save time and boost audio quality instantly.

