This tutorial shows you how to split a multitrack poly WAV file into separate tracks within DaVinci Resolve's Fairlight page. This is super handy if you need to edit or export individual audio channels from a recording.
Understanding Poly WAV Files
A poly WAV file is essentially a single audio file that contains multiple audio tracks. This is common when using professional audio recorders or cinema cameras that can capture more than two channels of sound.
Each channel in the file usually corresponds to a different microphone or audio input used during recording.
For example, if you used a recorder like the Sound Devices MixPre II or a Zoom F-series recorder, you might end up with a poly WAV file containing several tracks – perhaps one for each microphone you had placed. This allows for more flexibility in post-production.
Working with Poly WAV Files in DaVinci Resolve
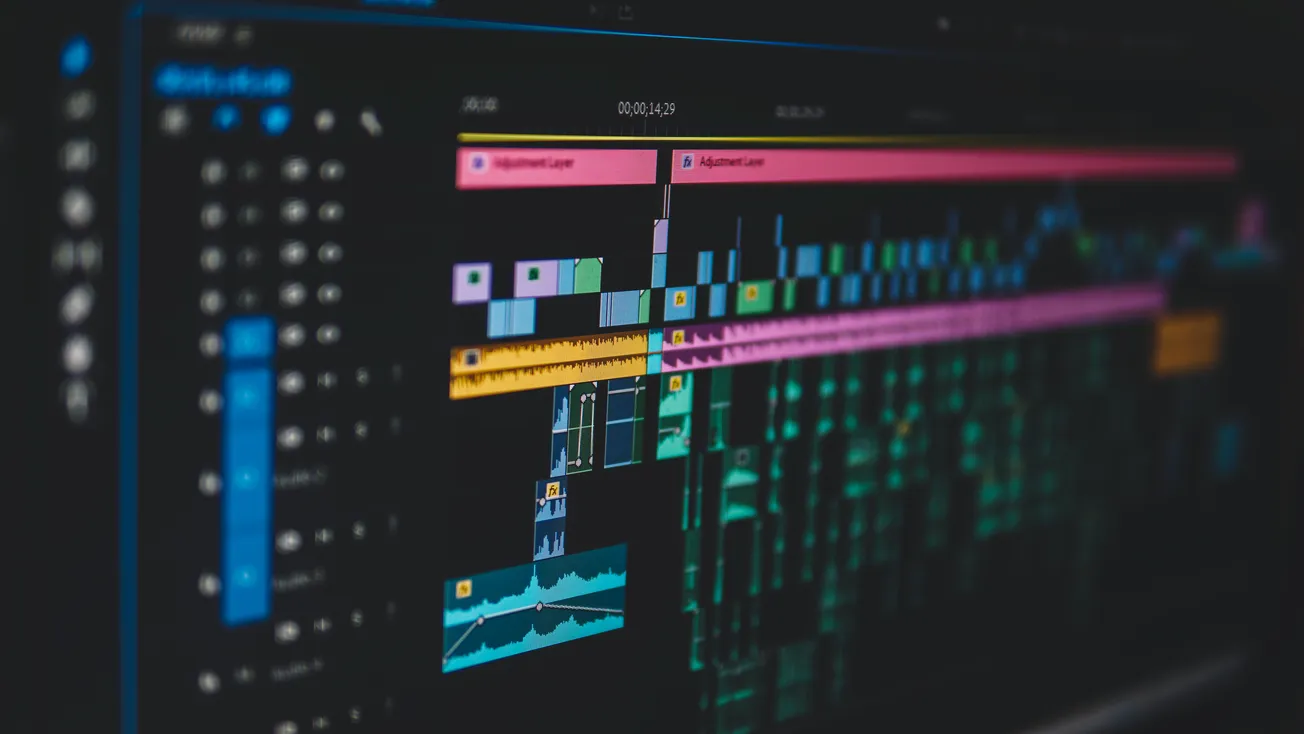
When you import a poly WAV file into DaVinci Resolve and place it on the timeline, Fairlight often automatically separates these tracks onto different audio lanes. This is great if you plan to do all your audio editing directly within Resolve.
You might notice that channels one and two are identical, perhaps representing a stereo mix. Channels three and four might be individual microphone feeds. If you want to edit these separately – maybe one person was louder than another – you'll need to make sure they aren't linked.
Unlinking Audio Tracks
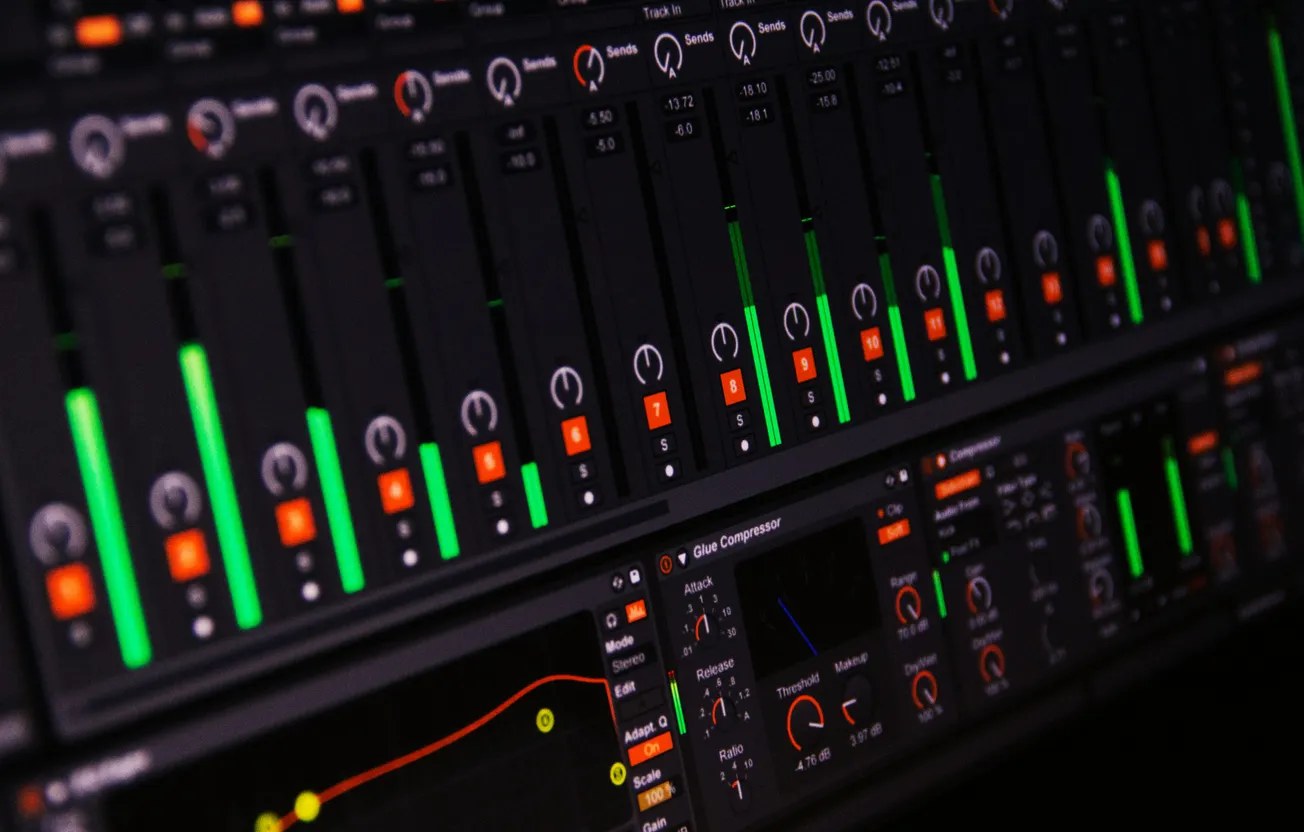
By default, when Resolve imports a poly WAV, the tracks might be linked. This means selecting one track selects them all. To edit them individually, you need to unlink them.
- Right-click on one of the audio tracks in the timeline.
- Select "Link Clips" and uncheck the "Link Clips" option.
Now, you can select and delete individual tracks. If you have empty tracks left over after deleting unwanted ones, you can right-click again and choose "Delete Empty Tracks" to clean things up.
Exporting Individual Audio Tracks
If you need to use these separate audio tracks in a different editing program or Digital Audio Workstation (DAW), you can export them individually from DaVinci Resolve.
- Select the audio tracks you want to export. You can do this by clicking on the first track and then holding the Shift key while clicking on the subsequent tracks.
- Right-click on the selected audio tracks.
- Choose "Export Audio Files."
In the export dialogue box, you'll want to configure a few settings:
- Folder Name: Choose "Clip Name" or a custom folder.
- Auto-Rename Each Duplicate: Make sure this is checked so each exported track gets a unique name.
- Format: Select "BWAV" (Broadcast Wave Format) as it's widely compatible.
- Sample Rate: Choose "Same As Project."
- Bit Depth: Select "24 bit."
- Interleaved: This setting is usually fine.
- Export Individual Clips: This is important – check this box to ensure each selected track becomes its own file.
- Entire Timeline: You can choose this, but then make sure to select "Selected Tracks Only" if you only want the ones you've chosen.
Once you click "Export," Resolve will create separate audio files for each track you selected. You can then verify this by importing these new files back into Resolve or another application to confirm they are indeed split correctly.

