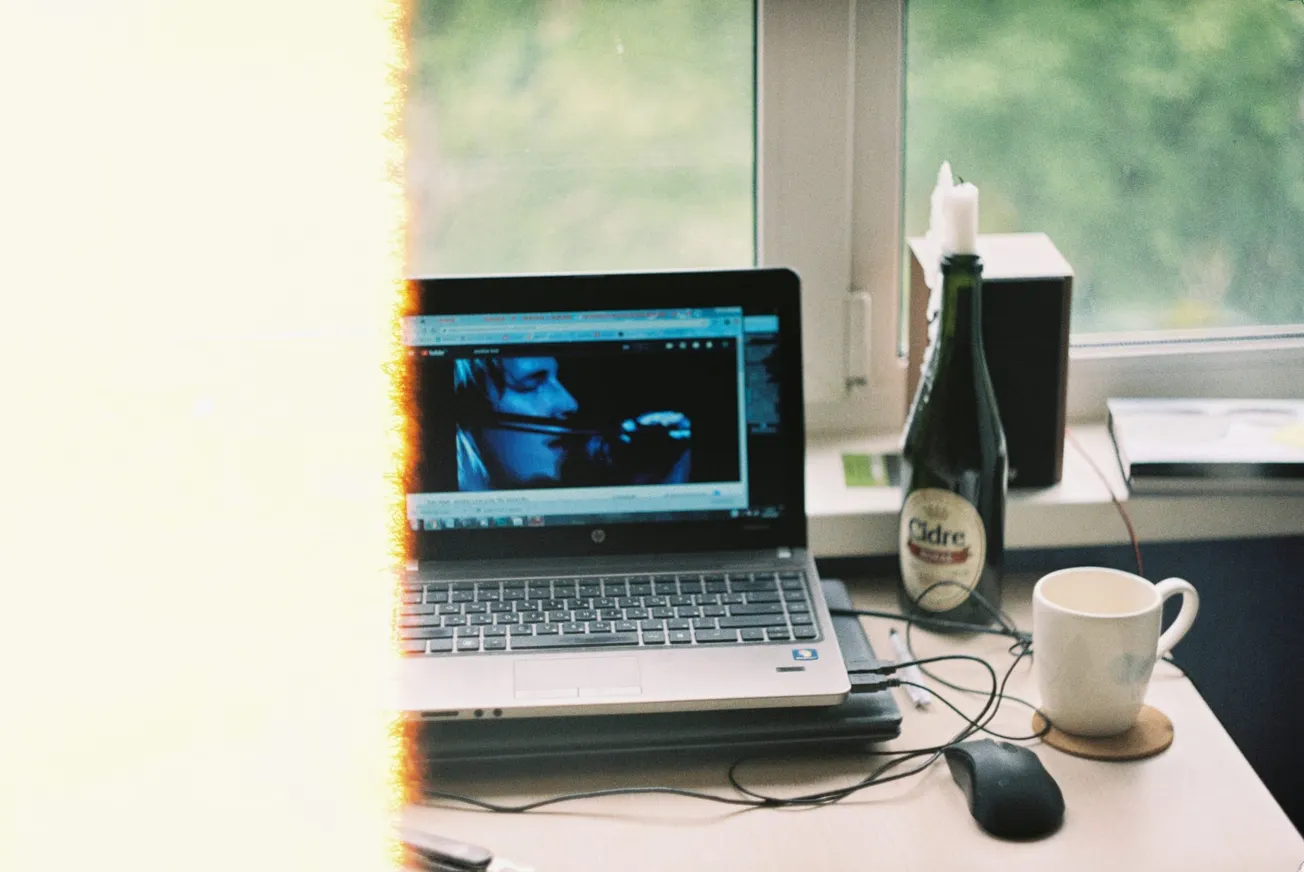
Creating high-quality audio starts with more than just a good microphone; it starts with the space you record in. Whether you are producing podcasts, YouTube videos or voiceovers, soundproofing your home studio is essential for minimizing background noise and ensuring your voice comes through loud and clear.
Why Soundproofing Matters
Soundproofing reduces or blocks external noises like traffic, air conditioning or noisy neighbors from entering your recording space. It also prevents your recordings from including echoes and reverberations that degrade audio clarity. This is especially critical in podcasting and video content where clear communication is key.
Soundproofing vs. Acoustic Treatment
Before diving into materials and setup, it is important to understand the difference:
- Soundproofing: Keeps external sounds out and internal sounds in.
- Acoustic Treatment: Improves how sound behaves within the room (reduces echo and reverb).
For content creators, a combination of both is usually needed.
Step-by-Step Guide to Soundproof Your Home Studio
1. Choose the Right Room
Start with the quietest space available. Rooms with fewer windows and more soft materials like carpets or curtains will naturally absorb more sound.
2. Seal Gaps and Cracks
Sound travels through even the smallest openings. Use weather stripping or acoustic sealant around:
- Doors
- Windows
- Electrical outlets
- Air vents
A heavy, solid door can also dramatically reduce noise bleed.
3. Add Mass to Walls
More mass means less sound transfer. You can:
- Hang heavy blankets or moving pads
- Use mass-loaded vinyl (MLV) sheets
- Install additional drywall layers (with Green Glue between for dampening)
4. Soundproof the Floor and Ceiling
Sound can travel vertically too. To block noise from above or below:
- Use thick rugs with dense pads
- Install acoustic ceiling tiles
- Consider adding insulation between floors if possible
5. Use Soundproof Curtains or Window Plugs
Windows are common weak points. Soundproof curtains can help absorb sound, while window plugs (custom-fit foam inserts) can block it entirely when recording.
6. DIY Isolation Booths
If you are short on space or budget, create a small vocal booth using:
- PVC piping for a frame
- Moving blankets or foam panels as walls
- A carpet base to reduce floor noise
This is a low-cost way to isolate your mic for vocal recordings.
Budget-Friendly Materials
You do not have to spend a fortune. Some popular and affordable soundproofing materials include:
- Acoustic foam panels: Good for echo, not for blocking sound
- Egg crate mattress foam: Cheap alternative for temporary setups
- Bookshelves with books: Acts as natural sound diffusers
- Moving blankets: Versatile and cost-effective
Final Tips for Better Audio
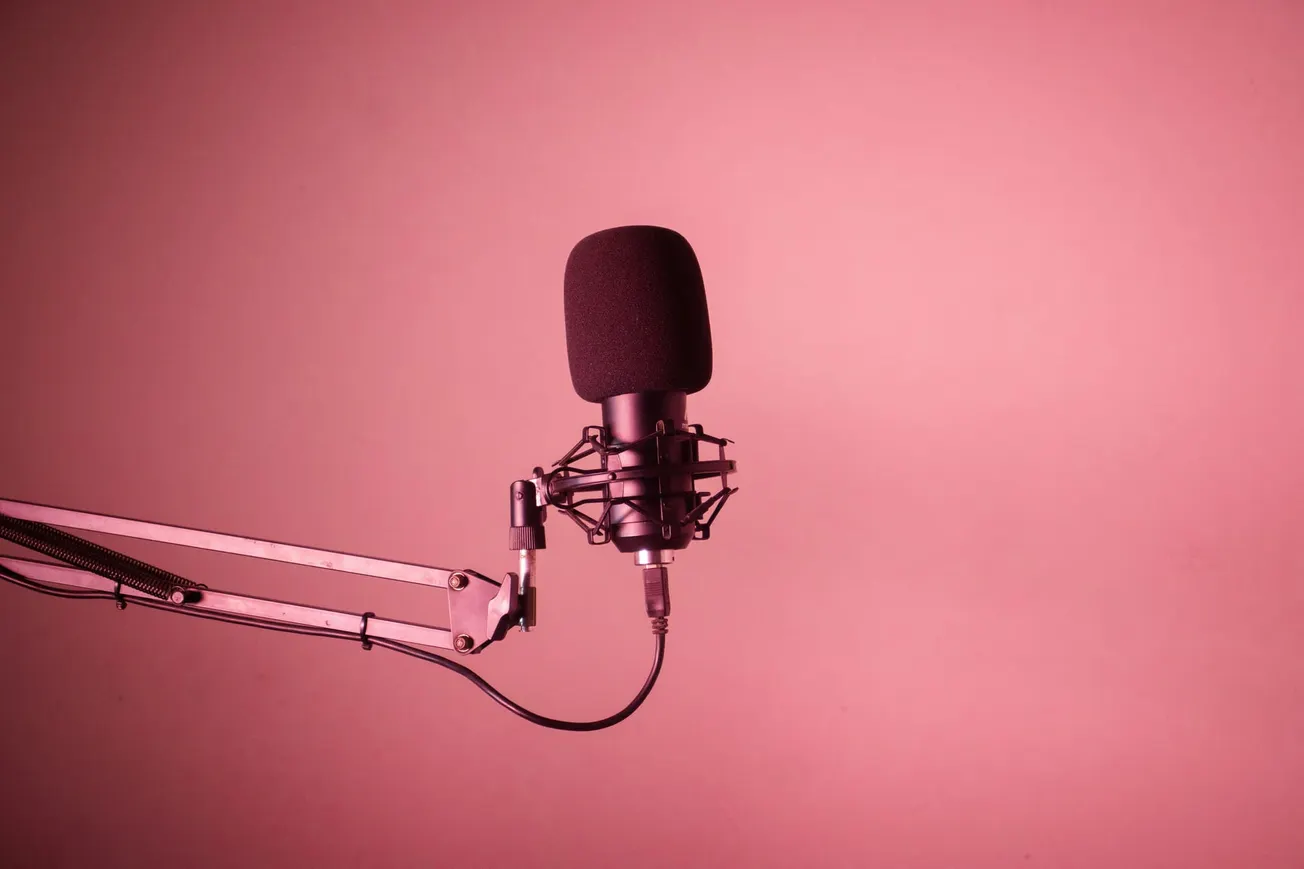
- Mic placement matters. Keep it away from walls and corners.
- Use a pop filter and shock mount to eliminate plosives and mic vibrations.
- Record at quieter times of day to reduce ambient noise.
Soundproofing your home studio is one of the smartest long-term investments you can make as a content creator. It not only enhances the professionalism of your audio but also reduces editing time and boosts audience engagement. With a few affordable adjustments, you can transform even a small room into a high-quality recording space.