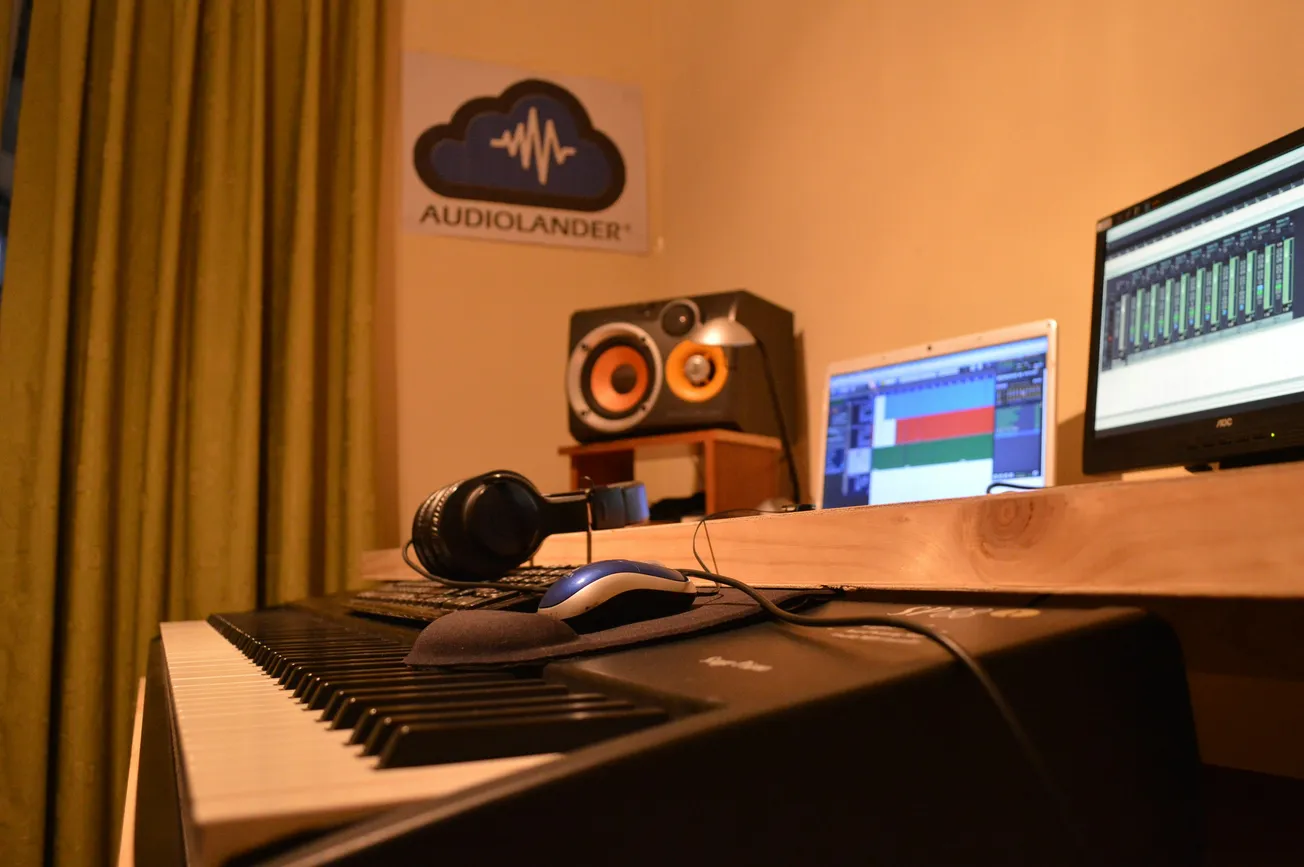
Working in a compact space doesn’t mean compromising on sound quality. According to Sound On Sound, revamping a small home studio—from around 3.1 × 2.9 × 2.3 m—proves that with thoughtful design and treatment, excellent audio results are possible.
1. Recognise the shape‑and‑size challenge
Small rooms often suffer greater acoustic issues than larger ones: modal bass imbalances, room symmetry problems, and early reflections all degrade clarity. For example, the SOS editor’s room was “alarmingly near” the cube shape acousticians say is worst for sound.
2. Prioritise acoustic treatment over gear upgrades
Even high‑end monitors won’t perform well in a poorly treated room. The solution: install corner bass traps, broadband absorbers at mirror points, ceiling clouds and move furniture and speakers to logical positions. The author spent nearly as much on treatment as on his monitors.
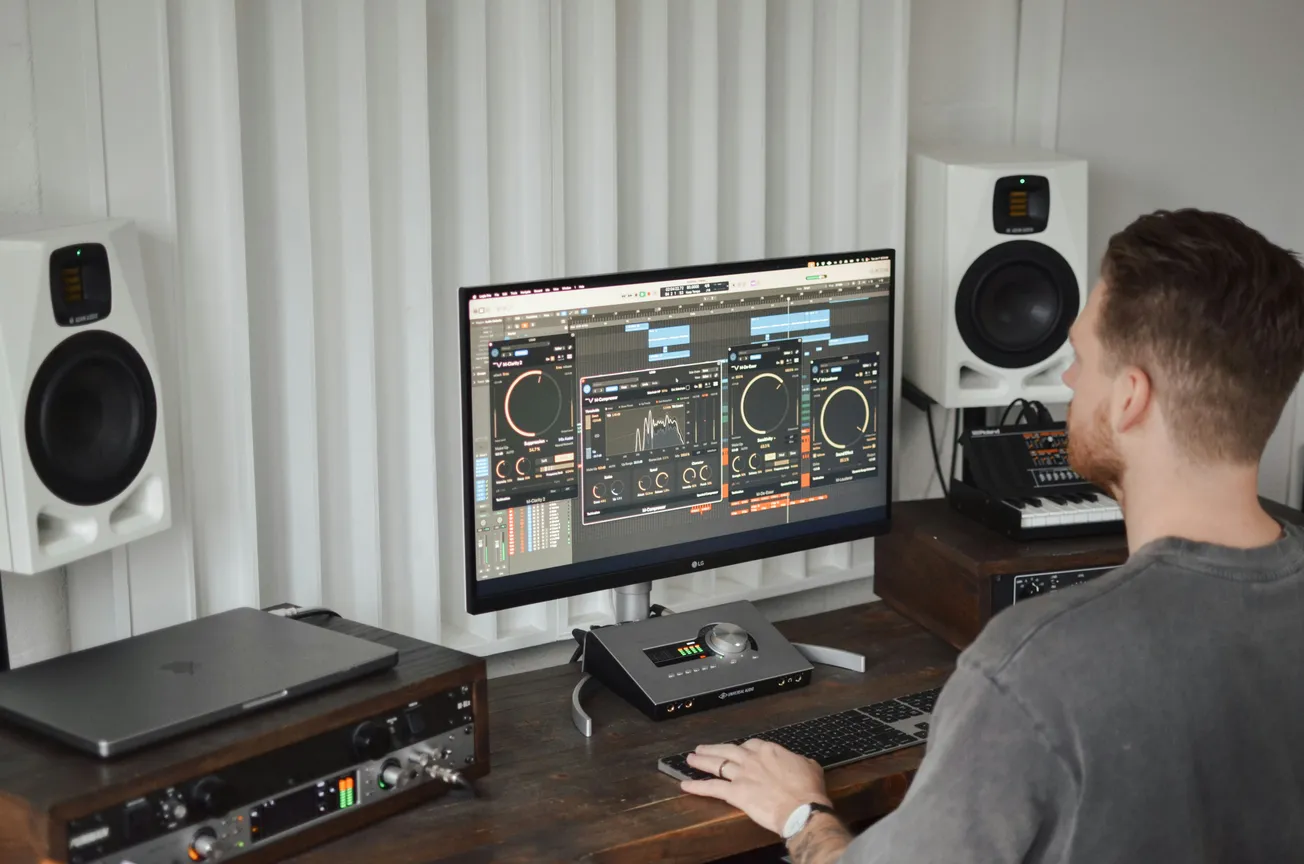
3. Layout, positioning and symmetry matter
For better stereo imaging and bass response:
- Place monitors away from walls where possible.
- Aim for left‑to‑right symmetry (seat equidistant from side walls).
- Avoid positioning the listening spot at the geometrical centre of the room (a typical “dead spot”).
4. Use practical tactics for low‑end control
Low frequencies are the hardest to manage in small rooms. Large corner traps, membrane‑backed panels, and even cheap fixes (e.g., rugs, curtains) can help where full treatment isn’t feasible. Even in tight spaces, these changes make a measurable difference.
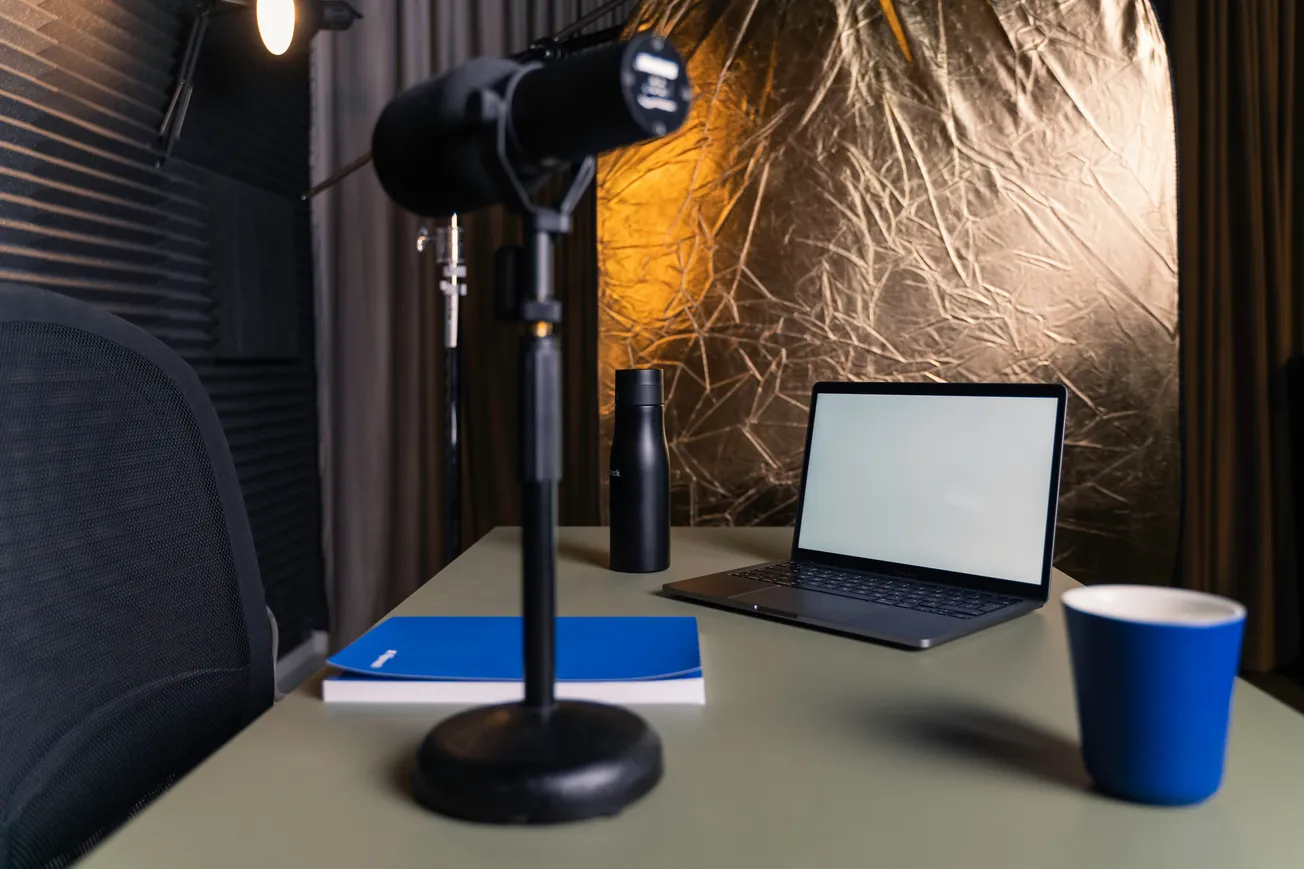
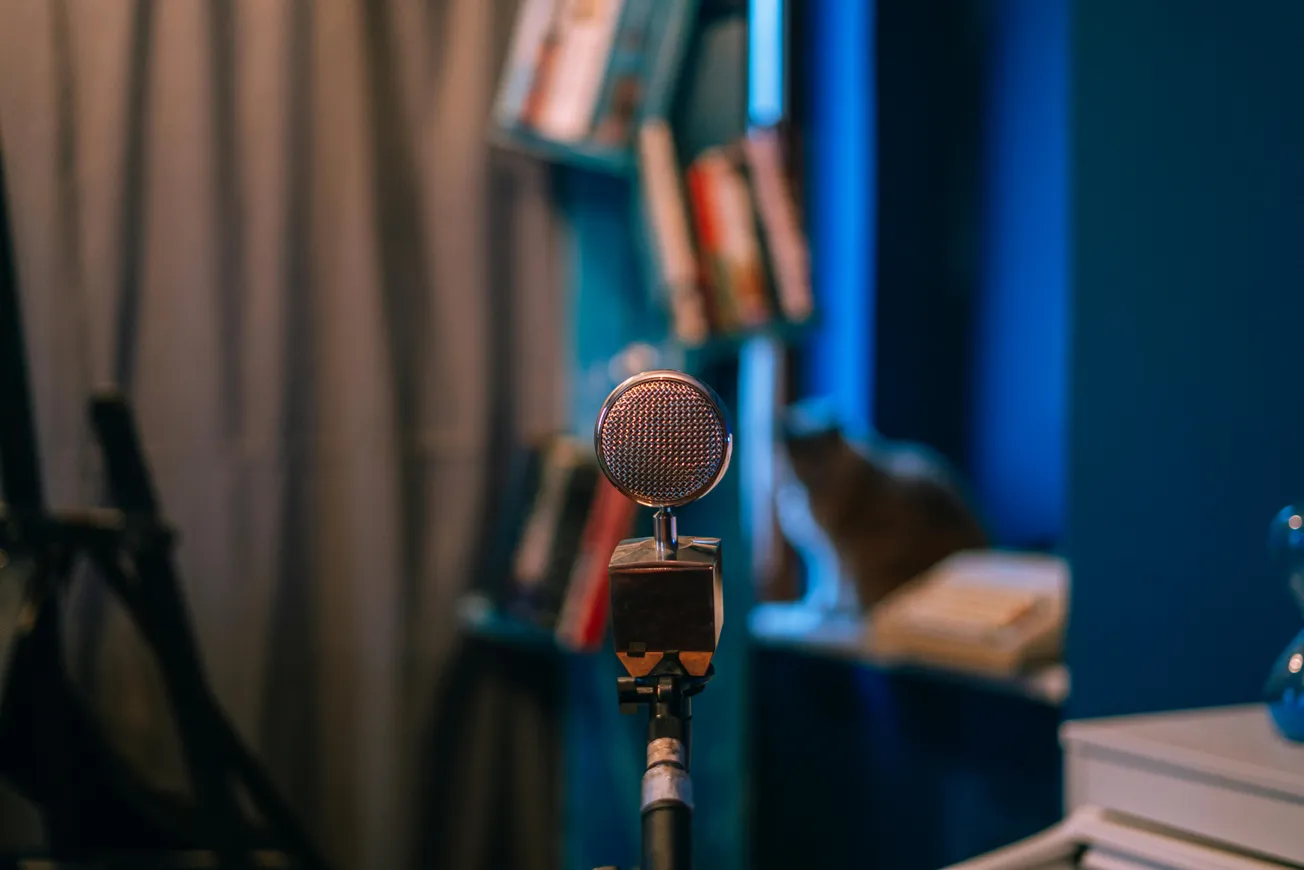
Takeaway for creators and business podcasters
If you’re setting up a podcast, video‑podcast or voice production space at home or in a small office — invest less in the shiny mic and more in controlling your environment. A stable acoustic foundation means your story, voice and content shine, rather than your gear trying to compensate for a tricky room.