
Why Clean Audio Matters
Noisy audio can ruin even the best content. Whether you are recording a podcast, webinar or video, background noises like hums, hisses or static distract listeners and hurt credibility. Cleaning up audio helps ensure your message is clear and professional.
Common Sources of Audio Noise
Before fixing the problem, identify the cause. Typical noise sources include:
- Electrical hum from appliances or power lines
- Microphone hiss from cheap or misconfigured gear
- Room reverb from recording in echo-prone spaces
- Background chatter or street noise
Reducing these during recording makes cleanup easier.
Step-by-Step: Cleaning Noisy Audio
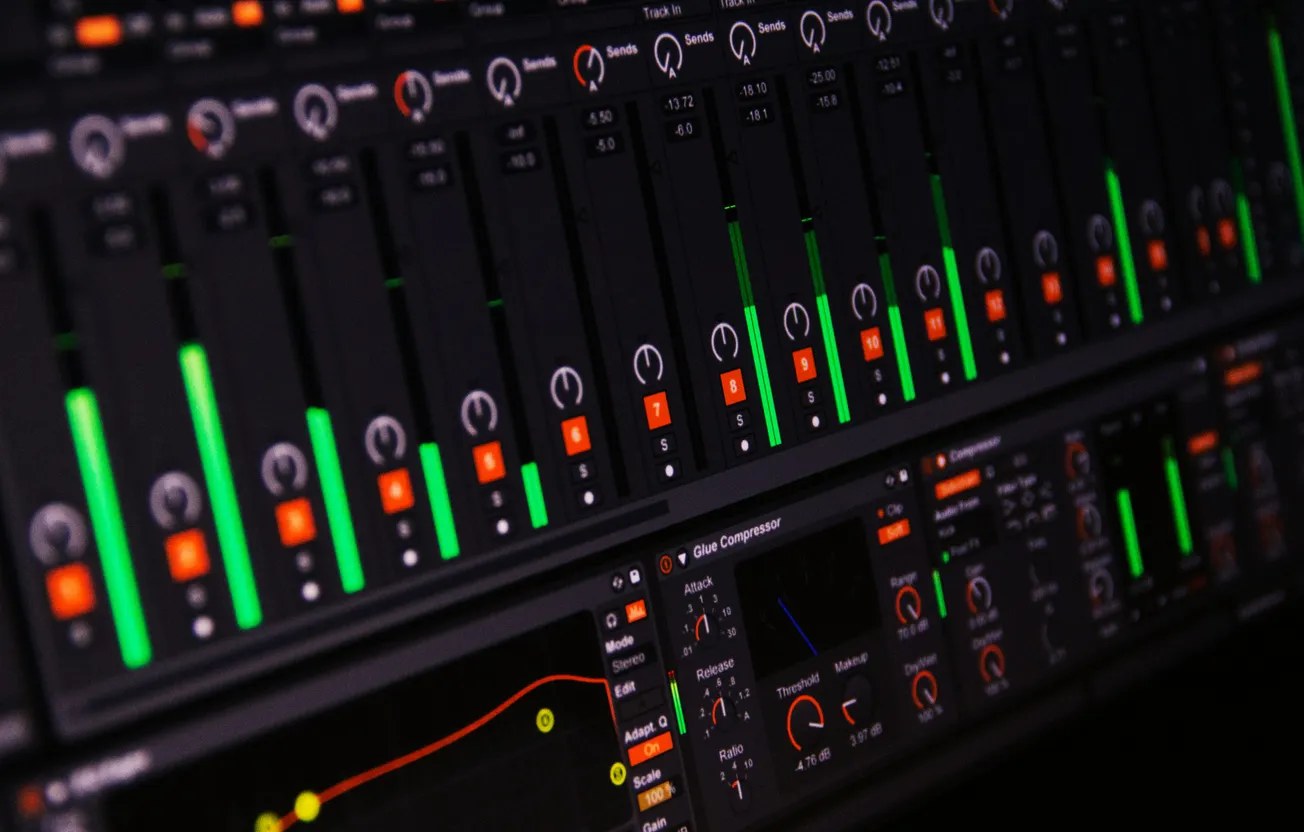
1. Use Noise Reduction Tools
Most audio editing software includes noise reduction features:
- Audacity (free): Use the “Noise Reduction” effect.
- Adobe Audition: Apply “Noise Reduction (process)” under the Effects menu.
- iZotope RX: Advanced but powerful for professional-grade cleanup.
2. Use High-Pass Filters
High-pass filters remove low-frequency rumbles like HVAC systems. Apply a high-pass filter around 80–100Hz.
3. Remove Clicks and Pops
Use de-clicking tools in your editor or manually cut and fade trouble spots.
4. Normalize and Compress
After cleanup, normalize audio levels and use light compression to balance volume.
Prevention Tips for Future Recordings
- Use a quality microphone and audio interface.
- Record in a quiet, treated room.
- Monitor levels with headphones while recording.
- Always record a few seconds of “room tone” for easier noise profiling later.
Clean sound boosts engagement, professionalism and listener retention. Investing a little time in editing or using automated tools can make a big difference in content quality.


