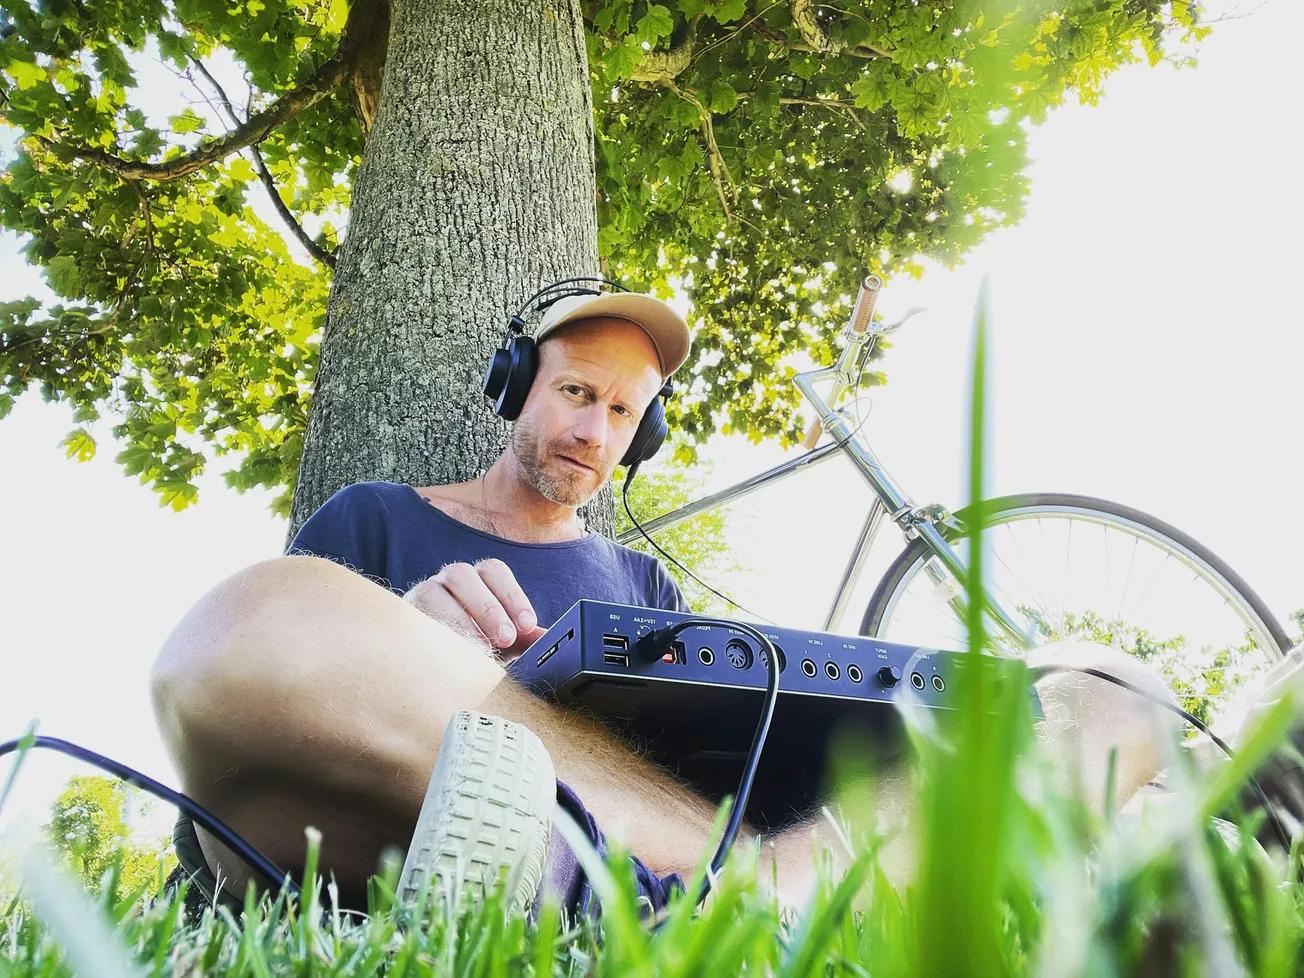
Why Studio Monitors Matter for Better Sound
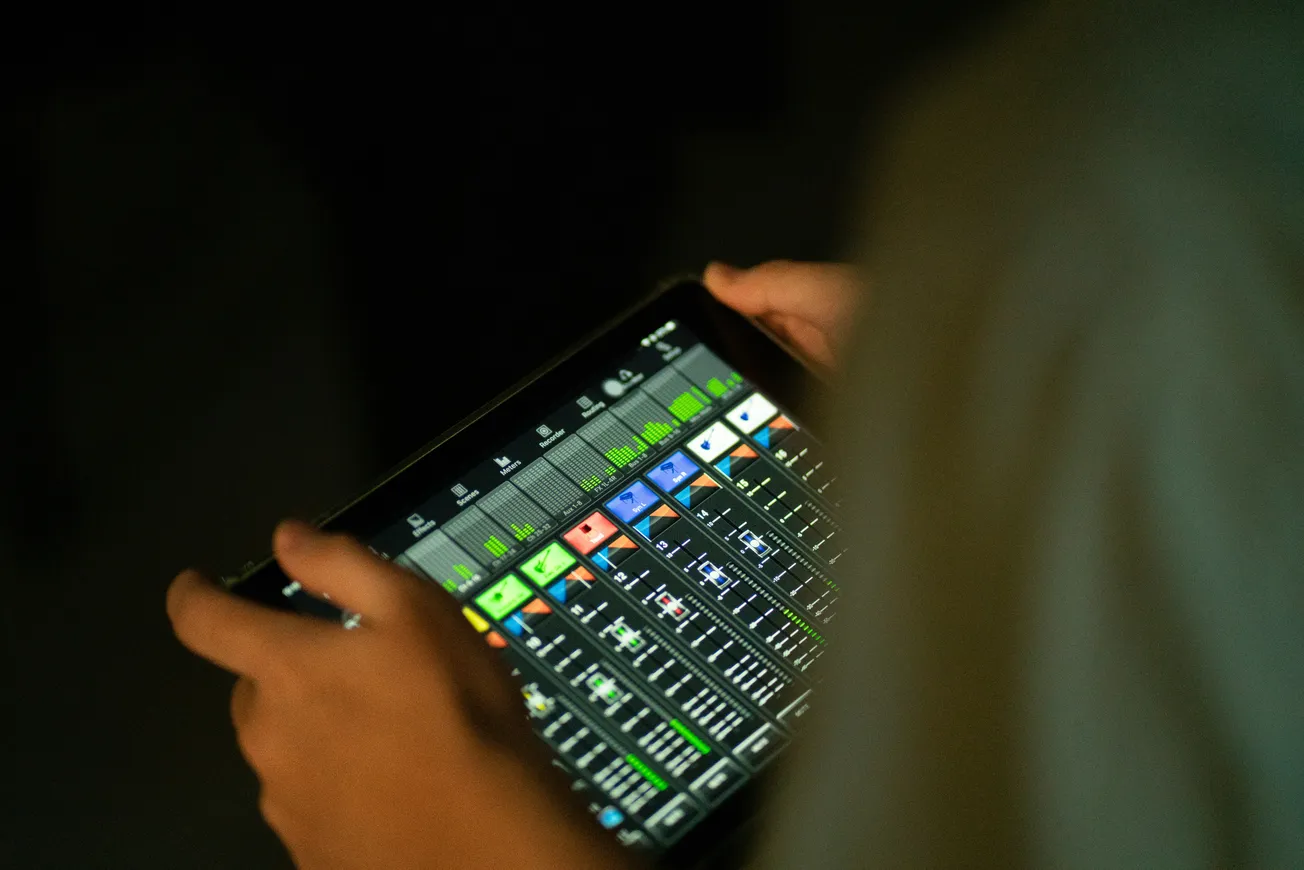
Whether you’re producing music, mixing a podcast, or working on audio for video, the studio monitors you choose and how you use them directly impact the decisions you make.
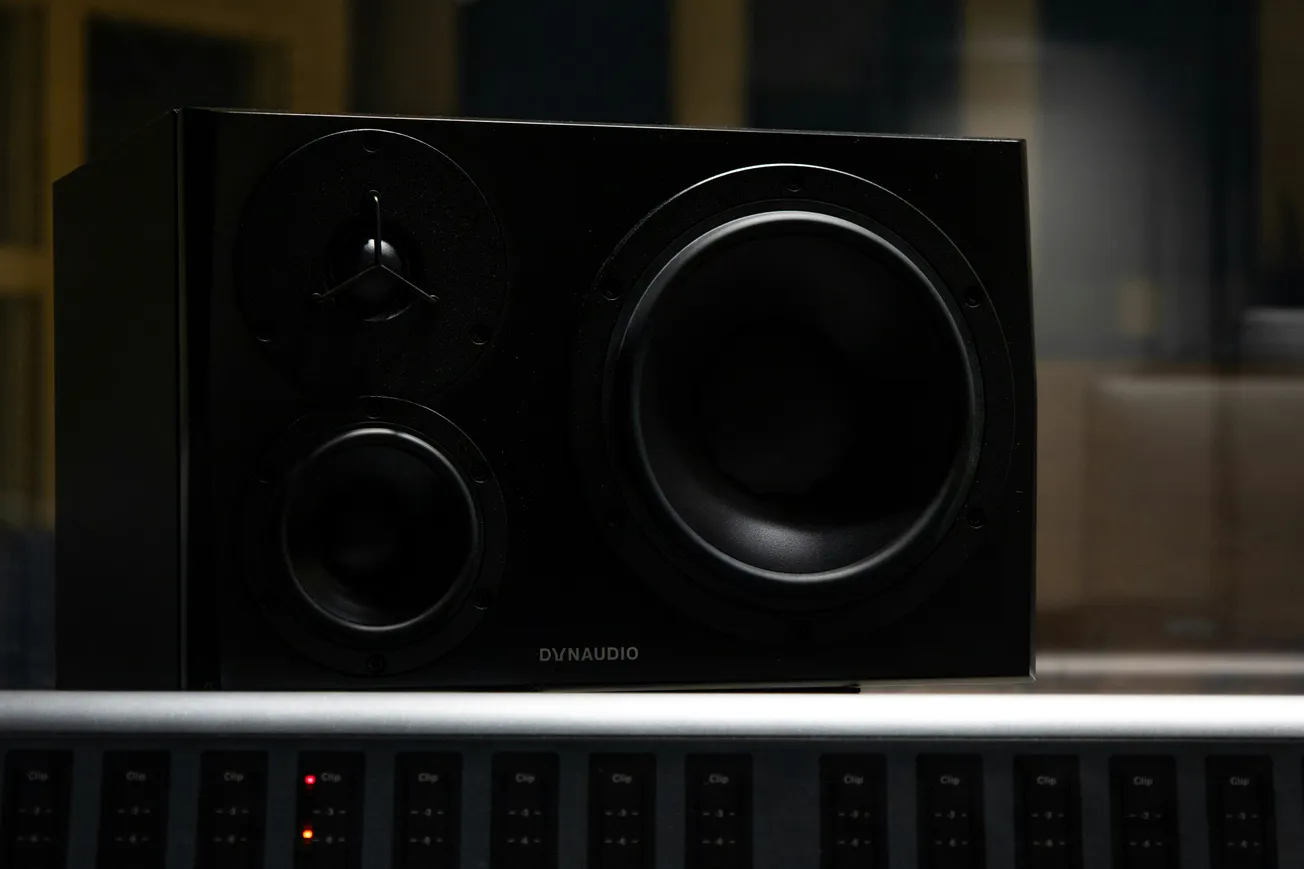
Unlike consumer speakers that flatter the sound, good studio monitors aim for accuracy and clarity, revealing the real balance of your mix so you can make better creative and technical choices. Yet getting the best performance out of your monitors depends on more than just buying the right pair—it requires the right setup, calibration, and acoustic treatment.
This article breaks down the key factors that help you get great performance from your studio monitors, drawn from guidance like the Production Expert overview on monitor selection and setup.
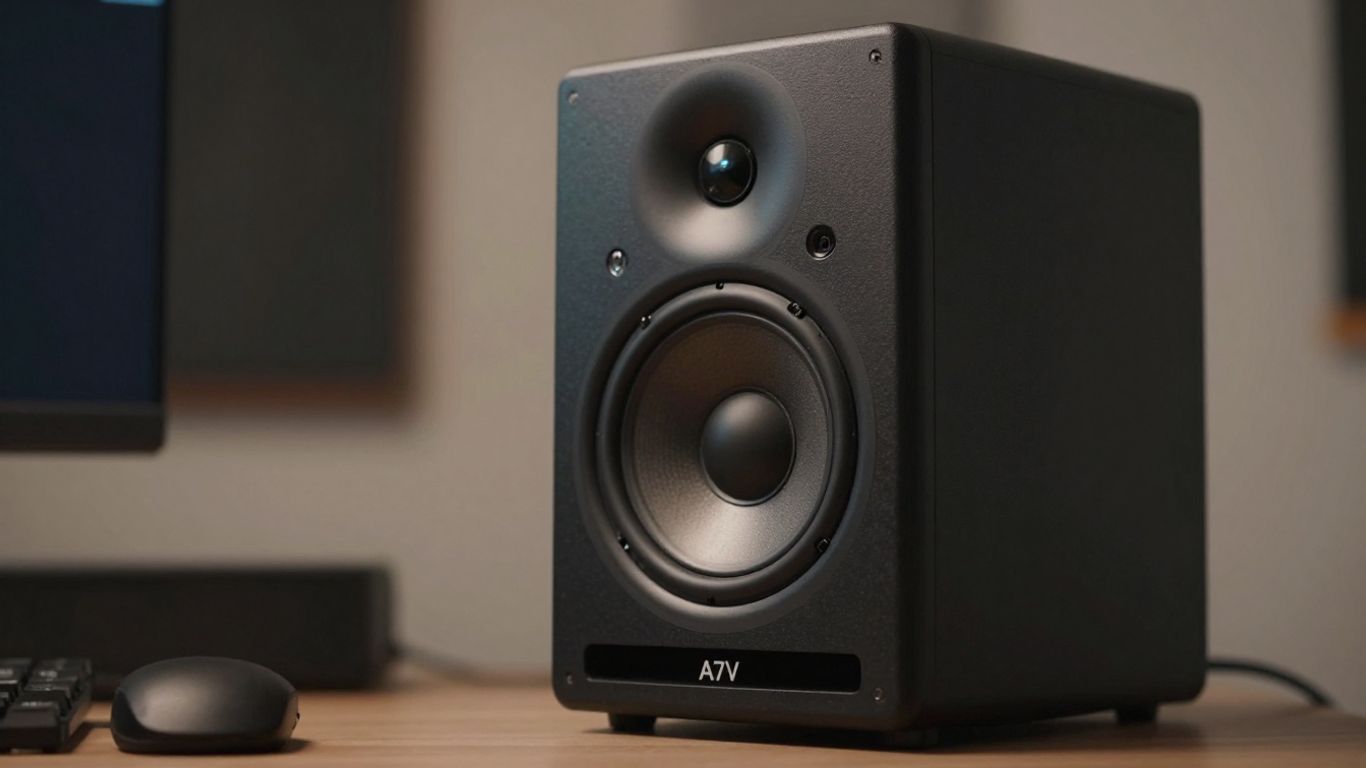
1. Choosing the Right Monitors for Your Space
Not all studio monitors are created equal, and the “best” choice depends on room size, music genre, and production needs:
- Nearfield monitors are ideal for small rooms and close-range listening—perfect for home studios and podcast production.
- Midfield or larger monitors suit bigger spaces and louder mixes but require more room treatment to avoid reflections.
- Two-way vs. three-way designs: Two-way monitors offer simplicity and clarity, while three-way systems can provide greater detail across lows, mids, and highs.
Before buying, consider frequency range, power handling, and room compatibility. Many manufacturers provide room size recommendations to help you choose monitors that won’t overwhelm or underperform in your space.
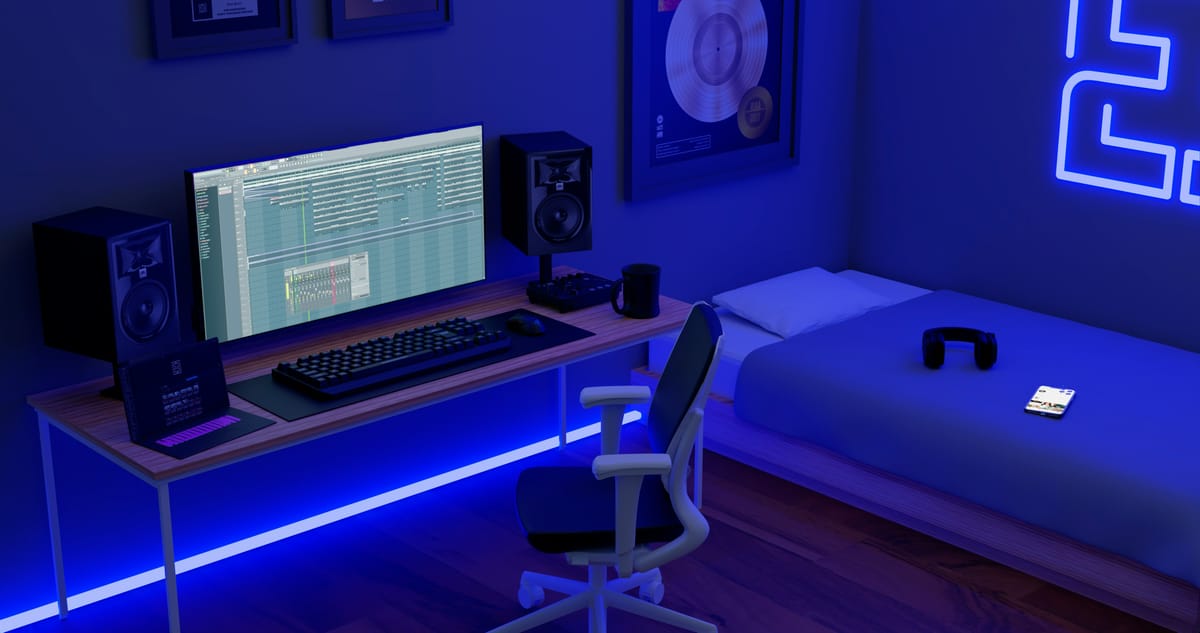
2. Positioning: The Foundation of Accurate Monitoring
Even high-end monitors will sound muddy or unbalanced if placed incorrectly. Proper positioning transforms monitor performance:
- Place monitors to form an equilateral triangle with your listening position, keeping tweeters at ear level.
- Avoid placing monitors flush against walls or corners, as boundary reflections can boost bass frequencies and muddy your mix.
- Use stands or isolation pads to reduce vibration transfer and ensure stable positioning.
The goal is to minimize reflections and standing waves so the direct sound from your monitors reaches your ears clearly. Small tweaks in distance and angle can dramatically improve clarity.
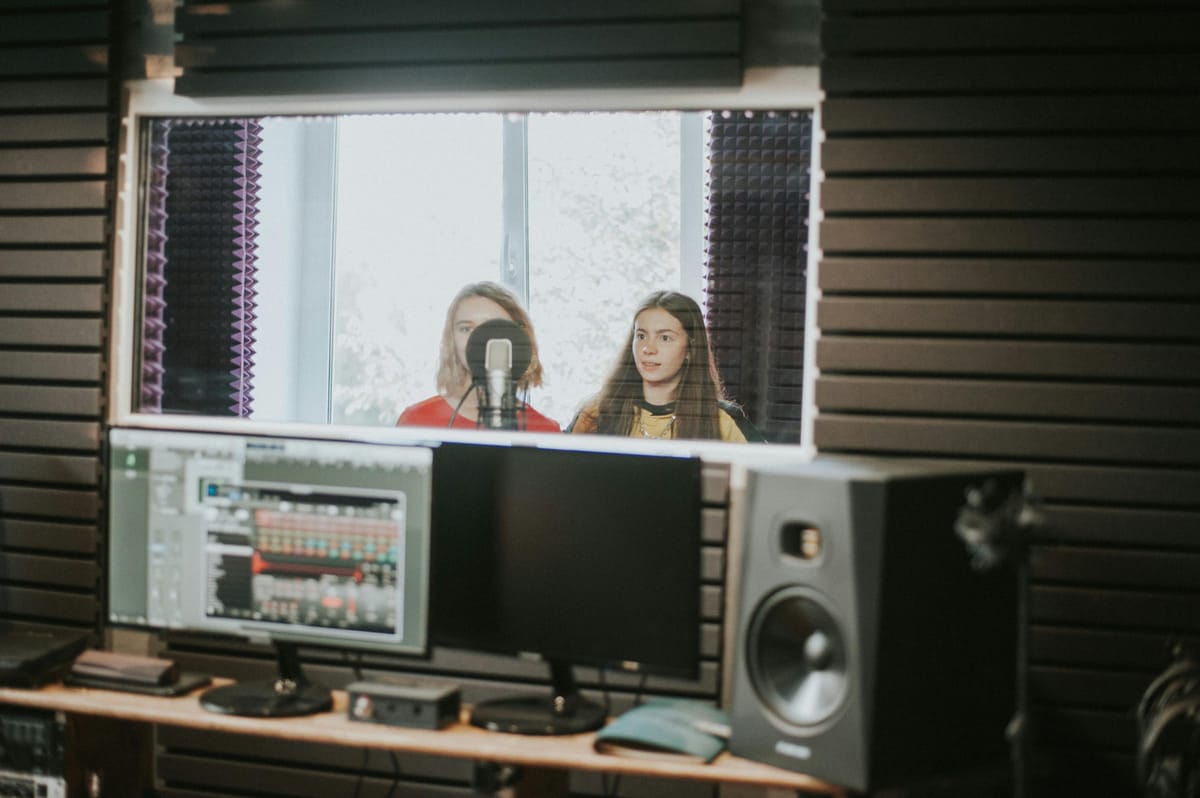
3. Room Treatment Makes a Big Difference
The acoustics of your room often matter more than the monitors themselves. Bare walls, hard floors, and parallel surfaces create reflections that mask the true sound from your speakers. Invest in acoustic treatment such as:
- Bass traps in corners to control low-frequency build-up
- Absorbers at first-reflection points on side walls and ceiling
- Diffusers to scatter sound and reduce standing waves
Room treatment smooths out frequency response and helps you hear what’s really in your mix, preventing decisions based on misleading acoustics.
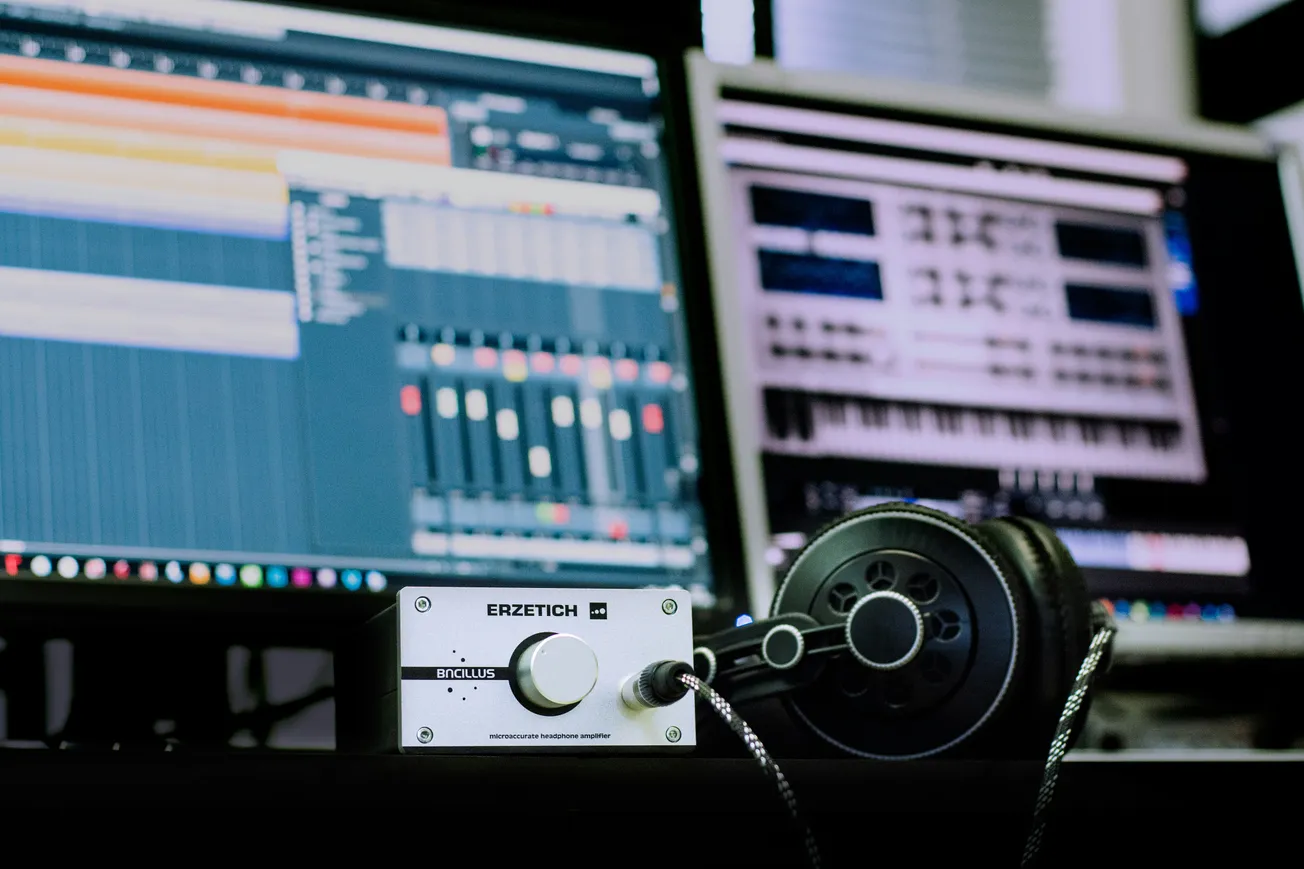
4. Calibration and Listening Levels
Once monitors are placed and the room is treated, calibrate your listening environment:
- Use test tones and measurement tools if available to check frequency response across your listening area.
- Listen at moderate levels; very loud playback can exaggerate bass and fatigue your ears.
- Move slightly in your seat while listening—if the mix changes dramatically, your room may need more treatment or monitor adjustment.
Accurate calibration ensures your mixes translate well to other playback systems like headphones, cars, and consumer speakers.
5. Monitor Features That Matter
When selecting and using studio monitors, pay attention to features that influence performance:
- Bi-amplification (separate amps for different drivers) improves clarity and dynamic response.
- Room compensation controls help adjust monitors to your room’s specific characteristics.
- Waveguides and cabinet design affect dispersion and imaging.
These features help tailor the monitor to both your workflow and listening space, producing a more reliable reference.
6. Monitor Upgrades: When It’s Worth It
If your current monitors lack clarity, struggle with low frequencies, or simply don’t reveal mix details, an upgrade might be warranted. Signs you need better monitors include:
- Boomy bass that doesn’t translate to other systems
- Harsh highs that fatigue your ears quickly
- Poor stereo imaging or unclear instrument separation
Upgrading doesn’t always mean breaking the bank—many mid-range monitors balance performance and affordability, especially for home studios and podcast production spaces.
Better Sound Begins With Good Monitoring
Getting great performance from studio monitors isn’t just about choosing the right model—it’s about how you use them. Precise positioning, thoughtful room treatment, proper calibration, and attention to monitor features all contribute to a listening environment that reveals truth instead of illusion.
With accurate monitoring, your mixes will translate better to the real world, your creative decisions will be more confident, and your productions will sound more professional.
Whether you’re a podcaster fine-tuning voice tracks or a producer mixing music for release, taking the time to optimize your monitors will pay off in clarity, balance, and final results you can trust.
More about monitors: